How to Use the Raspberry Pi Imager to Install Raspberry Pi OS: A Comprehensive Guide
How to Use the Raspberry Pi Imager to Install Raspberry Pi OS – In the realm of Raspberry Pi, the Raspberry Pi Imager stands as a powerful tool, simplifying the installation of Raspberry Pi OS. Join us as we explore this remarkable software, guiding you through the process of setting up your Raspberry Pi with ease.
With Raspberry Pi Imager, you’ll embark on a journey of limitless possibilities, transforming your Raspberry Pi into a versatile hub for projects, learning, and endless creativity.
Introduction to Raspberry Pi Imager
Raspberry Pi Imager is a user-friendly and versatile tool that simplifies the process of setting up a Raspberry Pi device. This intuitive software enables users to download the Raspberry Pi operating system (OS) and write it onto an SD card or USB drive, making it effortless to get started with your Raspberry Pi projects.
Compatibility with Raspberry Pi Models
Raspberry Pi Imager is compatible with a wide range of Raspberry Pi models, including the Raspberry Pi 4, 3, 2, and 1. This extensive compatibility ensures that users can utilize the software regardless of their specific Raspberry Pi model, making it a universal solution for Raspberry Pi enthusiasts.
System Requirements

To use the Raspberry Pi Imager, you’ll need a few basic hardware and software components. Let’s go through the requirements:
First, you’ll need a computer that meets the following minimum requirements:
Host Computer Requirements
- A computer running Windows 10 or later (32-bit or 64-bit)
- A computer running macOS 10.15 or later (64-bit only)
- A computer running Ubuntu 18.04 or later (64-bit only)
In addition to the host computer, you’ll also need the following hardware:
Hardware Requirements
- A Raspberry Pi computer (any model will do)
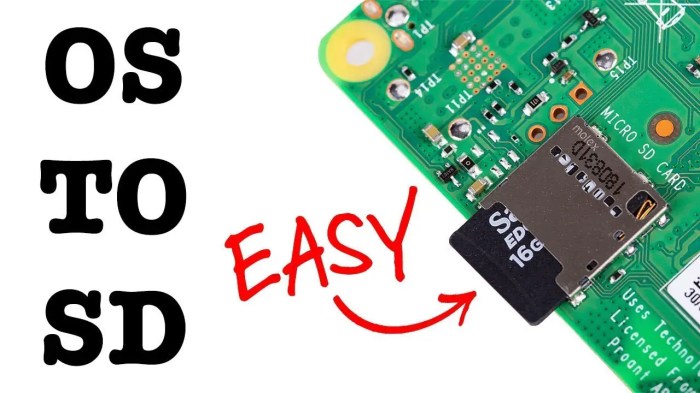
- A microSD card with at least 8GB of storage
- A USB card reader
Downloading and Installing Raspberry Pi Imager
Raspberry Pi Imager is a user-friendly tool that simplifies the process of installing Raspberry Pi OS and other operating systems on your Raspberry Pi device. It provides a graphical interface that guides you through the steps, making it accessible even for beginners.
If you’re having trouble getting Raspberry Pi OS up and running with the Raspberry Pi Imager, you might want to check out this article on how to fix a persistent “Enter Network Credentials” message on Windows. It could be related to a network issue that’s preventing the Imager from connecting to the Raspberry Pi.
Once you’ve resolved that, you can get back to using the Raspberry Pi Imager to install Raspberry Pi OS and start your projects.
To get started, you’ll need to download and install Raspberry Pi Imager. The official website offers versions for different operating systems:
Downloading Raspberry Pi Imager
- Windows: Download Raspberry Pi Imager for Windows
- macOS: Download Raspberry Pi Imager for macOS
- Linux: Download Raspberry Pi Imager for Linux
Installing Raspberry Pi Imager
Once you’ve downloaded the installer, follow the prompts to complete the installation process. For Windows and macOS, the installation is straightforward and requires minimal user input. For Linux, you may need to enter your password or use the terminal to install the package.
Selecting the Raspberry Pi OS Image
The Raspberry Pi Imager offers a variety of Raspberry Pi OS images to choose from, each tailored to specific purposes and hardware configurations.
Desktop Images
- Raspberry Pi OS Desktop (32-bit): A lightweight and user-friendly desktop operating system suitable for most Raspberry Pi models. It includes a graphical user interface (GUI) and a suite of pre-installed applications.
- Raspberry Pi OS Desktop (64-bit): A more powerful version of the desktop image, offering improved performance and support for 64-bit applications. It requires a Raspberry Pi 3 Model B or later.
Lite Images
- Raspberry Pi OS Lite (32-bit): A minimal operating system without a GUI, designed for headless operation or use with custom applications. It is suitable for Raspberry Pi models with limited storage space.
- Raspberry Pi OS Lite (64-bit): A more powerful version of the Lite image, offering improved performance and support for 64-bit applications. It requires a Raspberry Pi 3 Model B or later.
Other Images
- Raspberry Pi OS Server: A headless operating system designed for server applications, such as web hosting or file sharing. It is based on the Debian Linux distribution.
- Raspberry Pi OS Full Stack: A complete software stack for web development, including a web server, database, and programming languages. It is suitable for Raspberry Pi models with ample storage space.
Choosing the Destination Storage Device
Selecting the right storage device for your Raspberry Pi OS installation is crucial. It will house the operating system and your data. We recommend using an SD card or a USB drive with at least 8GB of storage space.
Before using the storage device, it’s essential to format it properly. This will erase any existing data and prepare it for the Raspberry Pi OS installation. Use the Raspberry Pi Imager’s “Format” option to format the storage device.
Formatting the Storage Device
- Insert the storage device into your computer.
- Open the Raspberry Pi Imager.
- Click on the “Format” button.
- Select the storage device from the list.
- Click on the “Format” button again.
- Wait for the formatting process to complete.
Writing the Raspberry Pi OS Image

Once you’ve selected the Raspberry Pi OS image and the destination storage device, it’s time to write the image to the storage device using Raspberry Pi Imager.
Writing the Image
- Click on the “Write” button in Raspberry Pi Imager.
- A confirmation dialog will appear. Make sure that the correct storage device is selected and click on “Yes” to proceed.
- The writing process will begin. The progress bar will indicate the progress of the operation.
- Once the writing process is complete, the storage device will be unmounted and ejected.
Image Verification, How to Use the Raspberry Pi Imager to Install Raspberry Pi OS
It’s recommended to verify the integrity of the written image to ensure that it’s not corrupted.
Using the Raspberry Pi Imager to install Raspberry Pi OS is a breeze, and it’s the recommended method for beginners. If you encounter any issues during the installation, such as the dreaded “The User Profile Service Failed the Logon” error in Windows 10, don’t panic.
Head over to this helpful guide to resolve the issue quickly. Once your Windows 10 system is up and running smoothly, you can return to the Raspberry Pi Imager and continue installing Raspberry Pi OS on your device.
- In Raspberry Pi Imager, click on the “Verify” button.
- Select the storage device that contains the written image.
- The verification process will begin. The progress bar will indicate the progress of the operation.
- If the verification process is successful, a message will be displayed indicating that the image is valid.
Installing Raspberry Pi OS on the Raspberry Pi
With the Raspberry Pi OS image written to the storage device, you’re ready to install it on your Raspberry Pi. Here’s a step-by-step guide:
Inserting the Storage Device and Powering On
Insert the storage device (SD card or USB drive) into the appropriate slot on your Raspberry Pi. Ensure it’s securely seated. Now, connect the Raspberry Pi to a power source using the micro-USB cable. The Raspberry Pi will boot up, and the installation process will begin.
Boot Process and Raspberry Pi OS Installation
During the boot process, the Raspberry Pi will load the Raspberry Pi OS image from the storage device. You’ll see a series of messages on the screen as the installation progresses. Once the installation is complete, the Raspberry Pi will automatically reboot, and you’ll be presented with the Raspberry Pi OS desktop environment.
Advanced Options in Raspberry Pi Imager
Raspberry Pi Imager offers a range of advanced options that allow you to customize the installation process. These options include:
- Configuring network settings
- Enabling SSH
- Setting up user accounts
Configuring Network Settings
You can configure the network settings for your Raspberry Pi during the installation process. This allows you to set the hostname, IP address, and DNS settings for your device.
If you’re having issues with the pip “externally-managed-environment” error on Linux, check out this guide for a quick fix. Once you’ve resolved that, you can get back to using the Raspberry Pi Imager to install Raspberry Pi OS. The Imager makes it easy to get started with your Raspberry Pi, so you can focus on the fun stuff like coding and tinkering.
Enabling SSH
SSH (Secure Shell) is a protocol that allows you to connect to your Raspberry Pi remotely. By enabling SSH during the installation process, you can access your device from another computer without having to connect a monitor and keyboard.
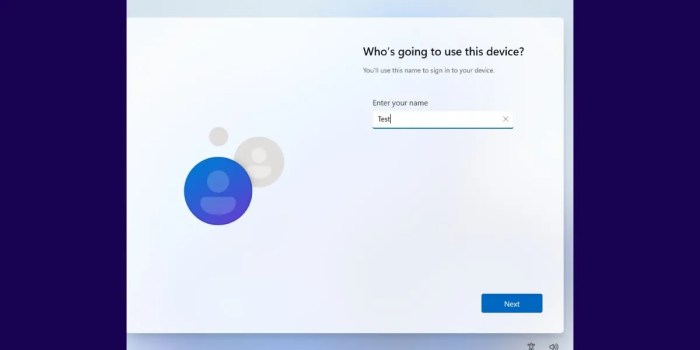
Setting Up User Accounts
You can also set up user accounts during the installation process. This allows you to create multiple users with different levels of access to your Raspberry Pi.
Troubleshooting Common Issues
While using Raspberry Pi Imager, you may encounter some common problems. Here are some solutions and workarounds:
Image Not Found
If Raspberry Pi Imager cannot find the Raspberry Pi OS image file, ensure that the file is in the correct location and has the correct file extension (.img). Additionally, check if the file is corrupted or incomplete.
Write Failed
If the write process fails, try using a different USB drive or SD card. Ensure that the drive or card has enough free space and is not write-protected. Additionally, check if the drive or card is compatible with Raspberry Pi.
Boot Failure
If Raspberry Pi fails to boot from the installed OS, check if the drive or card is inserted correctly into the Raspberry Pi. Additionally, ensure that the Raspberry Pi is powered correctly and that the OS image is compatible with the Raspberry Pi model.
Corrupted Image
If the installed OS is corrupted, try reinstalling the OS using a fresh image file. Additionally, check if the drive or card is damaged or corrupted.
Slow Write Speed
If the write process is slow, try using a faster USB drive or SD card. Additionally, ensure that the computer and Raspberry Pi are connected to a stable power source.
Conclusion

Raspberry Pi Imager stands out as a highly beneficial tool for Raspberry Pi enthusiasts and users. Its user-friendly interface and efficient operations make it an ideal choice for installing Raspberry Pi OS, providing a solid foundation for various projects and applications.
Raspberry Pi OS, renowned for its versatility and adaptability, offers a vast array of possibilities. From educational purposes and personal projects to industrial applications and home automation systems, Raspberry Pi OS empowers users to explore their creativity and ingenuity.
Potential Applications and Use Cases of Raspberry Pi OS
- Educational Platform:Raspberry Pi OS serves as an excellent platform for students and educators to engage in hands-on learning experiences in fields like programming, robotics, and electronics.
- Personal Projects:Hobbyists and makers leverage Raspberry Pi OS to bring their creative ideas to life, ranging from media centers and retro gaming consoles to home automation systems and IoT devices.
- Industrial Applications:Raspberry Pi OS finds applications in industrial settings, enabling tasks such as data logging, process control, and machine vision, contributing to enhanced efficiency and automation.
- Home Automation Systems:Raspberry Pi OS empowers users to create customized home automation solutions, controlling lighting, temperature, and security systems with ease and convenience.
Final Wrap-Up

Mastering the Raspberry Pi Imager unlocks a world of opportunities. From automating tasks to building smart home devices, the possibilities are endless. Dive into the vibrant Raspberry Pi community and share your creations, inspiring others with your ingenuity.
Query Resolution: How To Use The Raspberry Pi Imager To Install Raspberry Pi OS
Can I use Raspberry Pi Imager on Windows?
Yes, Raspberry Pi Imager is compatible with Windows operating systems.
What is the recommended storage device for Raspberry Pi OS?
A high-quality microSD card with at least 8GB of storage is recommended for optimal performance.
Can I customize the Raspberry Pi OS installation?
Yes, Raspberry Pi Imager offers advanced options for configuring network settings, enabling SSH, and setting up user accounts.