How to Use the Photos App Background Blur Feature on Windows 11: A Step-by-Step Guide
How to Use the Photos App Background Blur Feature on Windows 11 – Ready to give your photos a professional touch? With the Photos App Background Blur Feature on Windows 11, you can effortlessly create stunning images with blurred backgrounds, making your subjects pop like never before. Join us as we dive into the world of background blur and discover how to master this incredible tool.
Introduction
The Photos app in Windows 11 offers a convenient and easy-to-use background blur feature that allows you to enhance the focus of your images by blurring the background. This feature is especially useful for portraits, product shots, or any other situation where you want to draw attention to a specific subject while minimizing distractions in the background.
Background blur can be applied to both new and existing photos, and it can be adjusted to varying degrees of intensity to achieve the desired effect. It’s a great way to add a professional touch to your photos and make them stand out on social media or in print.
Identifying Eligible Photos

To achieve a visually pleasing background blur effect, it’s crucial to select photos that meet certain criteria. The Photos app in Windows 11 is equipped with an intelligent algorithm that analyzes image characteristics to determine eligibility for background blur.
Here are the key factors that determine photo eligibility:
Depth Information
- Photos with clear depth information, such as those taken with a dual-lens camera or a DSLR, are ideal for background blur.
- The depth information allows the algorithm to distinguish between the subject and the background, creating a natural-looking blur.
Subject Isolation
- Photos where the subject is clearly separated from the background are more suitable for background blur.
- This separation helps the algorithm accurately identify the subject and apply the blur effect precisely.
Image Quality
- High-quality photos with good resolution and sharpness produce better results with background blur.
- Blurring low-quality photos can result in a grainy or pixelated appearance.
Examples
- Eligible:A portrait photo with the subject standing in front of a blurred background.
- Not Eligible:A group photo where multiple subjects are overlapping and the background is cluttered.
By considering these criteria, you can select photos that are most likely to produce stunning results with the background blur feature in the Photos app on Windows 11.
Accessing the Background Blur Tool
To use the background blur feature, you’ll first need to open the Photos app. You can do this by clicking on the Start menu and typing “Photos” in the search bar. Once the Photos app is open, locate the photo you want to edit.
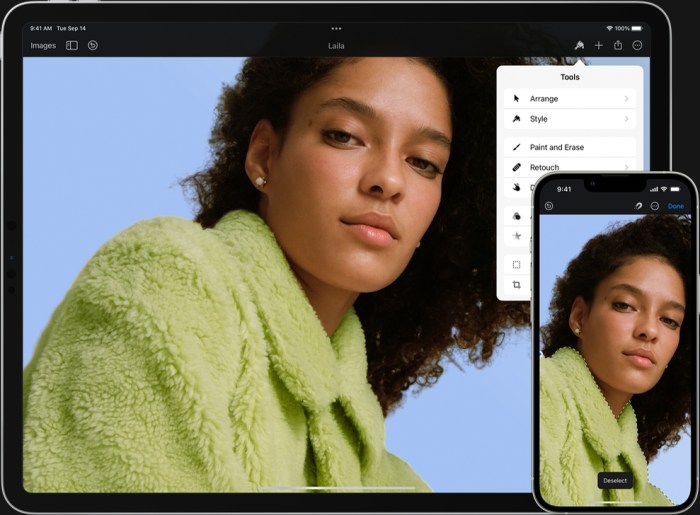
Once you have selected the photo, click on the “Edit” button in the top right corner of the screen. This will open the photo in the editing mode. In the editing mode, you will see a number of different tools on the right-hand side of the screen.
The background blur tool is located in the “Effects” section.
To apply the background blur, simply click on the “Blur” button. You can then adjust the amount of blur by dragging the slider. Once you are satisfied with the amount of blur, click on the “Apply” button.
Navigating the App’s Interface
The Photos app has a user-friendly interface that makes it easy to find the tools you need. The main menu is located at the top of the screen and provides access to all of the app’s features. The editing tools are located on the right-hand side of the screen and provide a variety of options for editing your photos.
If you are new to the Photos app, I recommend taking some time to explore the different features and tools. You can find tutorials and help articles online that can help you get started.
Tips
- The background blur tool can be used to create a variety of different effects. Experiment with different settings to see what you can create.
- The background blur tool is not available for all photos. Some photos may not be compatible with the tool due to their size or resolution.
- If you are not satisfied with the results of the background blur tool, you can always undo the changes.
Adjusting Blur Intensity
Once you’ve selected the area to blur, you can fine-tune the intensity of the blur effect. Windows 11 offers a range of blur levels to suit your preferences.
In addition to adding some jazzy background blur to your Windows 11 photos, you can also rock out with your Google Nest devices by learning How to Play Music Across Multiple Google Nest Speakers and Displays . But don’t forget about your photos! Get ready to take your photo editing game to the next level with Windows 11’s Photos app background blur feature.
Blur Intensity Slider
Locate the “Blur Intensity” slider at the bottom of the Blur panel. This slider allows you to adjust the strength of the blur effect from subtle to intense.
Move the slider to the left for a less intense blur or to the right for a more pronounced blur.
Previewing and Saving Blurred Photos
Once you’re satisfied with the blur intensity, it’s time to preview and save your blurred photo.
To preview the blurred photo, simply click the “Preview” button located at the bottom of the “Background Blur” pane. This will show you a side-by-side comparison of the original and blurred photos.
Saving the Blurred Photo
If you’re happy with the blurred photo, click the “Save” button. You’ll be prompted to choose a location to save the file. By default, the photo will be saved in the same folder as the original photo, but you can choose a different location if you prefer.
When saving the blurred photo, you can choose from a variety of file formats, including JPEG, PNG, and TIFF. JPEG is the most common format for photos, and it offers a good balance of quality and file size. PNG is a lossless format that preserves all of the original data, but it can result in larger file sizes.
TIFF is a high-quality format that is often used for professional photography, but it can also result in very large file sizes.
You can also choose the resolution of the blurred photo. The higher the resolution, the better the quality of the photo, but it will also result in a larger file size. For most purposes, a resolution of 300 dpi is sufficient.
Troubleshooting Common Issues
The background blur feature in the Photos app on Windows 11 is generally user-friendly, but some common issues may arise during usage. Let’s explore these issues and provide step-by-step solutions to resolve them.
Before troubleshooting, ensure that your device meets the system requirements for the feature and that the photos you’re trying to edit are in a supported format. Additionally, check for any pending updates for the Photos app and Windows 11 itself.
Error: “Blur Not Applied”
If you encounter the error message “Blur Not Applied” when attempting to apply the background blur, try the following:
- Check if the photo is in focus. Blurry or out-of-focus photos may not be suitable for the background blur feature.
- Try adjusting the blur intensity slider to a lower value. Excessive blur can sometimes lead to the “Blur Not Applied” error.
- Restart the Photos app and try applying the blur again.
Issue: “Blurred Area Appears Unnatural”
If the blurred area in your photo appears unnatural or distorted, consider the following:
- Ensure that the background is distinct from the subject. Complex backgrounds with multiple objects or fine details may result in unnatural blurring.
- Adjust the blur intensity slider carefully. Subtle blurring can often produce more natural-looking results.
Problem: “Unable to Save Blurred Photo”, How to Use the Photos App Background Blur Feature on Windows 11
If you’re unable to save the blurred photo, try the following:
- Check if the file format you’re trying to save the photo in is supported by the Photos app.
- Ensure that you have sufficient storage space on your device.
- Try saving the photo in a different location or using a different file name.
Tips and Tricks for Effective Background Blur

To achieve stunning results with the background blur feature, consider these expert tips:
Compose your photos strategically:Position the subject in the foreground with ample space around them to create a natural and visually appealing blur effect. Avoid placing the subject too close to the background, as this can result in an unnatural-looking blur.
Learning to use the Photos App Background Blur Feature on Windows 11 can help you enhance your images and make them stand out. While you’re at it, you may also want to explore ways to improve your Python code. Here’s a helpful article on how to enhance your Python code with concurrency and parallelism.
Once you’ve got the hang of both of these, you’ll be well on your way to mastering image editing and coding!
Lighting Conditions
Pay attention to lighting conditions:Natural light or soft, diffused lighting is ideal for background blur. Harsh or direct sunlight can create unwanted shadows and make it difficult to achieve a smooth blur effect. If possible, shoot in the shade or during golden hour for optimal results.
Advanced Techniques for Background Blur
![]()
Beyond the basic adjustments, you can explore advanced techniques to fine-tune your background blur effects and achieve creative results.
One powerful tool is using masks, which allow you to selectively apply blur to specific areas of your photo. This gives you precise control over the effect, letting you highlight certain elements or create unique compositions.
Using Layers and Blending Modes
For even more creative possibilities, you can use layersand blending modesin the Photos app. By creating multiple layers with different levels of blur, you can blend them together to create unique effects, such as adding depth or creating surreal compositions.
The Photos app on Windows 11 has a nifty background blur feature that can help you create stunning photos. If you’re looking to expand your music library, be sure to check out How to Discover New Songs Using Apple Music Playlists and Stations . Apple Music offers a vast selection of playlists and stations curated by experts, making it easy to find new music that you’ll love.
Once you’ve discovered some new tunes, you can head back to the Photos app and continue editing your photos with the background blur feature.
Applications and Use Cases for Background Blur: How To Use The Photos App Background Blur Feature On Windows 11

Background blur, also known as bokeh, is a powerful tool that can enhance the visual appeal and storytelling capabilities of your photos. It allows you to draw attention to the subject by blurring the background, creating a sense of depth and separation.
In this section, we will explore some practical applications and use cases for background blur in various scenarios.
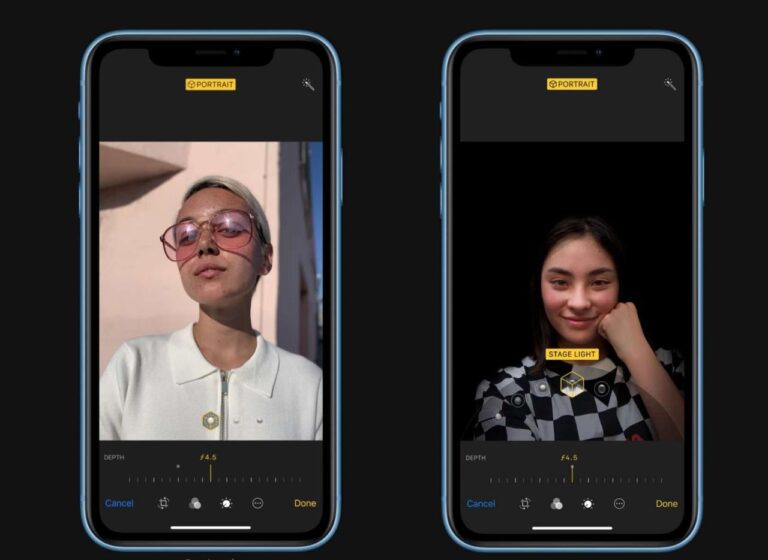
Portrait Photography
Background blur is a staple technique in portrait photography. By blurring the background, you can isolate the subject and draw attention to their facial features and expressions. This technique is particularly effective in headshots, where you want to emphasize the subject’s face and convey their personality or emotions.
Product Photography
In product photography, background blur can be used to showcase products in a visually appealing way. By blurring the background, you can minimize distractions and allow the product to take center stage. This technique is especially useful for online marketplaces and catalogs, where products need to stand out and capture the viewer’s attention.
Social Media Content
Background blur is also a popular technique in social media content. By blurring the background in your photos, you can create a more visually engaging and immersive experience for your followers. This technique is particularly effective in stories and reels, where you want to grab attention and keep viewers engaged.
Closure
Congratulations! You’ve now mastered the art of using the Photos App Background Blur Feature on Windows 11. Experiment with different photos, adjust the blur intensity, and explore advanced techniques to elevate your photography skills. Let your creativity shine through as you create visually captivating images that tell unforgettable stories.
Question & Answer Hub
Can I use the background blur feature on all photos?
No, the feature is only available for photos that meet certain criteria, such as having a clear subject and a well-defined background.
How do I adjust the intensity of the blur?
You can use the slider in the Background Blur tool to adjust the intensity of the blur effect.
Can I save the blurred photo in different formats?
Yes, you can choose from various file formats, including JPEG, PNG, and TIFF, when saving the blurred photo.