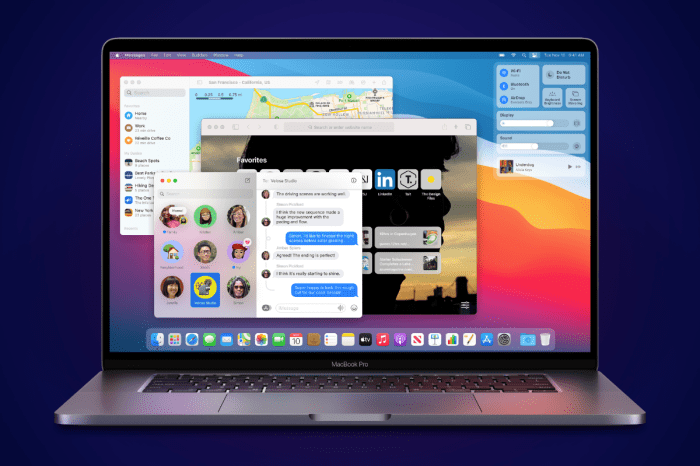
How To Use Screen Sharing In Messages For Mac
How to use screen sharing in Messages for Mac takes center stage, making collaboration a breeze. Whether you’re showing a friend a funny video, helping a family member troubleshoot their computer, or working on a project with a team, Messages screen sharing offers a simple and effective way to share your screen with others.
With its intuitive interface and robust features, Messages screen sharing lets you seamlessly share your entire screen or specific applications, control the level of access granted to recipients, and even annotate the shared screen for clearer communication.
Prerequisites
Before you can start screen sharing in Messages on your Mac, you’ll need to make sure you have the right setup. Let’s go over the requirements and settings to get you ready.
Software Requirements
You need the right software to make screen sharing work. Here’s what you’ll need:
- macOS:Screen sharing in Messages requires macOS Catalina (10.15) or later. This means you’ll need to update your Mac’s operating system if you’re using an older version.
- Messages App:You’ll obviously need the Messages app, which comes pre-installed on Macs. Make sure you have the latest version of Messages installed. You can check for updates in the App Store.
Hardware Requirements
While screen sharing doesn’t demand a specific type of Mac, a powerful computer will provide a smoother experience. Here are some general considerations:
- Processor:A faster processor helps prevent lag during screen sharing, especially if you’re sharing a lot of visuals or running demanding applications.
- RAM:More RAM is always better, especially if you’re running multiple applications while screen sharing. This helps prevent performance issues.
- Internet Connection:A stable and fast internet connection is crucial for smooth screen sharing. A slow connection can lead to lag and interruptions.
Settings to Enable
You’ll need to adjust a few settings to ensure screen sharing works properly. Here’s what you need to do:
- Enable Screen Sharing:Go to System Settings> Sharingand check the box next to Screen Sharing. You can also set a password to protect your screen from unauthorized access.
- Allow Remote Management:If you want to control another Mac remotely, enable the Remote Managementoption under the Sharingsettings. This allows you to access and control another Mac’s screen remotely.
Starting a Screen Sharing Session
To initiate a screen sharing session in Messages for Mac, you need to open a conversation with the person or group you want to share your screen with. Once the conversation is open, you’ll find the screen sharing controls within the message window.You can initiate a screen sharing session by clicking the “Share Screen” button located in the message window.
This button is typically found in the bottom right corner of the message window, alongside other controls like video call and audio call options. Clicking this button will initiate the screen sharing process, allowing you to share your screen with the selected recipient.
Selecting Contacts or Groups
To choose who to share your screen with, you can select the desired contact or group from the list of active conversations in Messages. Alternatively, you can use the search bar to find a specific contact or group. Once you’ve selected the recipient, you’ll see the “Share Screen” button become active, allowing you to initiate the screen sharing session.
Screen sharing in Messages for Mac is super easy, just click the little “Details” button in the top right corner of the chat window and boom, you’re good to go. While you’re at it, make sure you get copies of all your family’s photos this holiday season Make sure you get copies of all your family’s photos this holiday season so you can share them with everyone during your next video call.
Once you’re done with the screen share, just hit the “Stop Sharing” button, and you’re back to chatting like normal.
Controlling Access
When initiating a screen sharing session, you have the option to control the level of access granted to the recipient. This allows you to tailor the screen sharing experience based on your needs. You can choose to share your entire screen, or you can select a specific window or application.
This provides flexibility in controlling what the recipient sees and allows you to focus on specific information.
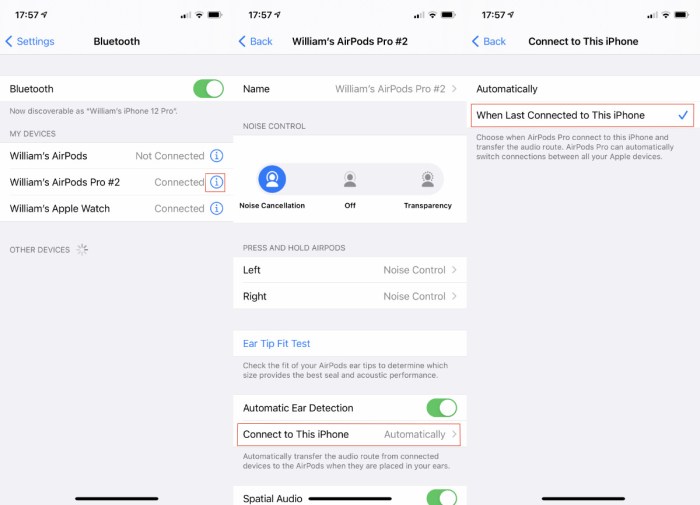
Sharing your screen in Messages on Mac is super easy, just click the “Details” button in a chat and select “Share Screen.” It’s a great way to show someone what you’re working on, like how to connect your AirPods Max to non-Apple devices, which you can find instructions for on this helpful website.
Once you’ve got that figured out, you can share your screen and show off your sweet new setup!
Controlling the Screen Sharing Session
Once you’ve started sharing your screen, you can control what your recipient sees and how they interact with it. You can pause or stop the screen sharing, and even annotate the shared screen to highlight important information.
Pausing and Stopping Screen Sharing
You can pause or stop screen sharing at any time. This is useful if you need to temporarily switch to another app or if you want to stop sharing your screen completely.
- To pause screen sharing, click the Pause Screen Sharingbutton in the Messages window. This will temporarily stop sharing your screen, but your recipient will still be able to see the last thing you shared.
- To stop screen sharing, click the Stop Screen Sharingbutton in the Messages window. This will end the screen sharing session and your recipient will no longer be able to see your screen.
Annotating the Shared Screen
You can use the annotation tools to highlight important information on the shared screen. These tools include:
- Pointer: This tool allows you to move a pointer around the shared screen, drawing attention to specific areas.
- Drawing: This tool allows you to draw on the shared screen with a variety of colors and line thicknesses.
- Text: This tool allows you to add text to the shared screen.
- Shapes: This tool allows you to draw shapes, such as rectangles, circles, and arrows, on the shared screen.
Sharing Specific Applications: How To Use Screen Sharing In Messages For Mac
Sometimes, you might not want to share your entire screen, but only a specific application window. This is especially useful when you want to protect sensitive information in other windows or simply want to focus on a specific task.
Advantages and Disadvantages of Sharing Specific Applications
Sharing specific applications offers advantages and disadvantages:
- Advantages:
- Increased Privacy:By sharing only a specific application, you can keep other windows and their content private. This is particularly important if you’re working with sensitive data or confidential information.
- Improved Focus:Sharing only the relevant application window helps maintain focus and reduces distractions for both you and the person you’re sharing with.
- Reduced Bandwidth Consumption:Sharing only a specific application window often consumes less bandwidth than sharing your entire screen, especially if the application is lightweight.
- Disadvantages:
- Limited Context:Sharing only a specific application might not provide enough context for the person you’re sharing with. If they need to see other parts of your screen, you’ll need to switch to screen sharing.
- Less Flexibility:You might not be able to switch between applications as easily while sharing a specific application.
Sharing a Specific Application, How to use screen sharing in Messages for Mac
To share a specific application window, follow these steps:
- Open the Messages appon your Mac.
- Start a new conversationor open an existing one with the person you want to share with.
- Click the “Screen Sharing” iconin the message window.
- Select “Application Window”from the menu that appears.
- Choose the application windowyou want to share.
- Click “Share”.
Once you’ve shared the application, the person you’re sharing with will see only that application window. You can then interact with the application as usual. To stop sharing the application, simply click the “Stop Sharing” button in the message window.
Sharing your screen in Messages for Mac is super easy, just click the “Details” button and select “Screen Share.” You can even use this to show someone how to do something like, say, export their Apple Card transactions to a spreadsheet.
You can find a step-by-step guide on how to do that here , which is pretty useful for tracking your spending. Once you’re done, just click the “Stop Sharing” button to end the screen share in Messages.
Troubleshooting Common Issues
Screen sharing is generally a smooth process, but sometimes things can go awry. It’s important to know how to troubleshoot these issues so you can get back to sharing your screen quickly.
Issues with Starting a Screen Sharing Session
Let’s take a look at some common problems you might encounter when trying to start a screen sharing session.
- The other person can’t see your screen.This could be due to a few things. First, make sure the other person has accepted your screen sharing request. If they haven’t, they won’t be able to see your screen. Second, check your internet connection.
A weak or unstable connection can cause problems with screen sharing. Third, ensure you’re sharing the right screen. If you have multiple displays, you might be sharing the wrong one.
- You can’t see the other person’s screen.This is usually because the other person hasn’t started sharing their screen yet. Make sure they’ve initiated the screen sharing process. If they have, double-check your internet connection and make sure you’ve accepted their screen sharing request.
- You get an error message.Error messages can be frustrating, but they often provide clues about what’s wrong. Read the error message carefully and see if it provides any helpful information. If you’re still unsure, try restarting your computer and the Messages app.
Issues with Controlling the Screen Sharing Session
Once you’ve started a screen sharing session, you might encounter some issues with controlling it.
- You can’t control the other person’s screen.This is usually because the other person hasn’t given you control. To give you control, they need to click the “Give Control” button in the screen sharing window. If they have given you control, make sure you’re using the correct mouse and keyboard to interact with their screen.
- The other person can’t control your screen.This is usually because you haven’t given them control. To give them control, you need to click the “Give Control” button in the screen sharing window.
- You can’t see the other person’s mouse cursor.This is a common problem, and it’s usually because the other person’s cursor is hidden. To fix this, have the other person move their mouse or click somewhere on their screen.
Issues with Sharing Specific Applications
Sometimes, you might have trouble sharing specific applications.
- You can’t share a specific application.This could be because the application isn’t compatible with screen sharing. Some applications are designed to prevent screen sharing, so you might need to find a workaround or use a different method of sharing. Another reason might be that the application is running in a window that’s minimized or hidden.
Make sure the application window is visible and open.
- The other person can’t see the application you’re sharing.This could be because the application is not active. Make sure the application is the active window on your screen.
Advanced Features
Beyond the basic functionality of screen sharing, Messages on Mac offers several advanced features that enhance your collaboration and communication experience. These features allow you to control the shared screen, share specific applications, and manage participants effectively.
Sharing Control Options
These features give you more control over the shared screen during a screen sharing session.
- Request Control:When you need to take direct control of the shared screen, you can request control from the other participant. This allows you to demonstrate tasks, troubleshoot problems, or make changes to the shared content.
- Grant Control:The participant receiving the control request can choose to grant or deny access to their screen. This gives them the power to decide who can make changes to their shared content.
- Revoke Control:If you need to take back control of your screen during a screen sharing session, you can revoke control from the other participant. This ensures that only you can make changes to your shared content.
Managing Participants
These features help you manage the participants in your screen sharing session.
- Adding Participants:You can add other participants to an existing screen sharing session. This allows you to include additional people in the conversation and collaborate on the shared content.
- Removing Participants:You can remove participants from a screen sharing session. This can be useful if someone is no longer needed in the session or if you want to restrict access to the shared content.
- Mute Participants:You can mute participants in a screen sharing session to reduce distractions or prevent unwanted noise. This can be especially useful during presentations or meetings.
Alternatives to Messages Screen Sharing

While Messages screen sharing is a convenient option for Mac users, there are other applications and services available that offer different features and functionalities. These alternatives may provide more advanced features or cater to specific needs.
Popular Screen Sharing Applications
It’s helpful to understand the different screen sharing applications available.
- Zoom: Zoom is a popular video conferencing platform that also offers screen sharing capabilities. Zoom’s screen sharing features allow you to share your entire screen, specific applications, or even individual files. You can also annotate on the shared screen during a meeting.
Zoom is a good option for meetings with multiple participants, as it offers features like breakout rooms and recording capabilities.
- Google Meet: Google Meet is another video conferencing platform that offers screen sharing capabilities. Similar to Zoom, you can share your entire screen, individual applications, or specific files. Google Meet integrates well with other Google services like Google Drive, making it easy to share files and collaborate on documents.
- Microsoft Teams: Microsoft Teams is a collaboration platform that includes screen sharing capabilities. Teams allows you to share your entire screen, individual applications, or specific files. It also integrates with other Microsoft Office applications, making it a good option for businesses that use Microsoft products.
- Skype: Skype is a popular video calling and messaging application that also offers screen sharing capabilities. Skype allows you to share your entire screen, individual applications, or specific files. It is a good option for personal use or for small teams that need a simple and straightforward screen sharing solution.
Comparison of Messages Screen Sharing and Alternatives
A comparison between Messages screen sharing and the alternatives helps you decide which option is best for your needs.
| Feature | Messages Screen Sharing | Zoom | Google Meet | Microsoft Teams | Skype |
|---|---|---|---|---|---|
| Ease of Use | Simple and straightforward | Easy to use | Easy to use | Easy to use | Easy to use |
| Features | Basic screen sharing | Advanced features like breakout rooms and recording | Integrates well with Google services | Integrates with Microsoft Office applications | Simple and straightforward |
| Security | Secure for Apple devices | Secure with end-to-end encryption | Secure with end-to-end encryption | Secure with end-to-end encryption | Secure with end-to-end encryption |
| Platform Compatibility | Mac only | Cross-platform | Cross-platform | Cross-platform | Cross-platform |
Advantages and Disadvantages of Alternatives
An understanding of the advantages and disadvantages of each alternative helps you choose the right option.
Zoom
- Advantages:
- Advanced features like breakout rooms and recording.
- Cross-platform compatibility.
- Secure with end-to-end encryption.
- Disadvantages:
- Can be more expensive than other options.
- May require a subscription for certain features.
Google Meet
- Advantages:
- Integrates well with other Google services.
- Cross-platform compatibility.
- Secure with end-to-end encryption.
- Disadvantages:
- Limited features compared to Zoom.
- May not be suitable for large meetings.
Microsoft Teams
- Advantages:
- Integrates with Microsoft Office applications.
- Cross-platform compatibility.
- Secure with end-to-end encryption.
- Disadvantages:
- May not be suitable for personal use.
- Can be complex to use.
Skype
- Advantages:
- Simple and straightforward to use.
- Cross-platform compatibility.
- Secure with end-to-end encryption.
- Disadvantages:
- Limited features compared to other options.
- May not be suitable for large meetings.
Best Practices for Screen Sharing

Screen sharing is a powerful tool for collaboration, but it’s essential to follow best practices to ensure a smooth and productive experience for everyone involved. By adhering to these guidelines, you can minimize distractions, maximize clarity, and ensure everyone is on the same page.
Clear Communication and Etiquette
Clear communication is paramount during screen sharing sessions. Before you start sharing, take a moment to Artikel the session’s purpose and expectations. This helps everyone understand the objectives and avoids confusion.
- Set the Agenda:Briefly explain the topics you’ll be covering and the desired outcome of the session. This helps participants focus and contribute effectively.
- Establish Roles:Clearly define who will be presenting, who will be viewing, and who will be participating in the discussion. This minimizes confusion and ensures everyone knows their role.
- Use a Clear and Concise Language:Avoid technical jargon or overly complex explanations. Use simple language that everyone can understand.
- Be Mindful of Distractions:Minimize distractions by turning off notifications and closing unnecessary applications. Encourage participants to do the same.
- Be Respectful of Time:Be mindful of everyone’s time and stick to the agreed-upon schedule. Avoid going off on tangents or engaging in lengthy side conversations.
Tips for a Smooth and Productive Screen Sharing Experience
A few simple tips can help you ensure a smooth and productive screen sharing experience.
- Prepare Your Screen:Before you start sharing, close unnecessary windows and organize your desktop to avoid clutter. This helps viewers focus on the relevant information.
- Optimize Performance:Ensure you have a stable internet connection and a powerful enough computer to handle screen sharing without lag. This prevents interruptions and frustration.
- Use the Right Tools:Familiarize yourself with the screen sharing features of your chosen application. This allows you to take advantage of all the available options and avoid unnecessary confusion.
- Practice Makes Perfect:If you’re new to screen sharing, practice with a friend or colleague before a formal session. This helps you gain confidence and identify potential issues.
- Be Patient and Understanding:Remember that everyone has different levels of technical expertise. Be patient and understanding when encountering issues or technical difficulties.
Conclusion

Screen sharing in Messages for Mac is a powerful tool that can streamline collaboration, provide remote assistance, and enhance communication. We’ve covered the essential steps to initiate and manage screen sharing sessions, from starting and controlling the session to sharing specific applications and troubleshooting common issues.
We’ve also explored advanced features like remote control and password protection, as well as alternatives like FaceTime and third-party applications.
Benefits and Advantages of Screen Sharing in Messages
The ability to share your screen directly within Messages offers several advantages:
- Seamless Integration:Screen sharing is built into Messages, making it readily available and easy to use.
- Convenience:You don’t need to download or install any additional software, making it accessible for quick and impromptu sessions.
- Privacy:Screen sharing sessions are protected by end-to-end encryption, ensuring your data remains secure.
- Flexibility:You can share your entire screen or specific applications, allowing you to control what information is visible.
- Efficiency:Screen sharing eliminates the need for lengthy explanations, making collaboration more efficient.
Final Review
Mastering screen sharing in Messages for Mac unlocks a world of possibilities for collaboration, communication, and problem-solving. From sharing presentations and documents to providing technical support, the ability to share your screen directly from Messages empowers you to connect with others in a more dynamic and engaging way.
FAQ Summary
Can I screen share with someone who doesn’t have a Mac?
Unfortunately, Messages screen sharing is only available between Mac users.
How do I stop a screen sharing session?
You can stop screen sharing by clicking the “Stop Sharing” button in the Messages window.
Can I record a screen sharing session?
While Messages doesn’t have built-in recording capabilities, you can use third-party screen recording software to capture your screen sharing sessions.